
Minestrone Soup with Tortellini
Minestrone Soup with Tortellini
Posted in Uncategorized | Leave a Comment »

Brown Rice with chicken, chopped granny smith apple, celery, mango chutney and currants.
Posted in Uncategorized | Leave a Comment »

Minestrone Soup with Cheese Tortellini
Posted in Uncategorized | Leave a Comment »

Leftover Pizza (using leftover ingredients from the week of cooking) with basil pesto, chicken sauteed in jalapeno garlic oil, jalapeno, red pepper, onion, mushrooms, eggplant, zucchini, red onion, mozzarella and feta cheese.
Posted in Uncategorized | Leave a Comment »
Italian Sausage Sandwich with Spicy Hot Italian Sausage, sauteed homegrown curly spinach with garlic, pesto with homegrown basil, fresh homegrown tomato slices, sauteed red pepper,caramelized onion slivers, and fresh mozzarella with grated Parmesan.


Posted in Uncategorized | Leave a Comment »
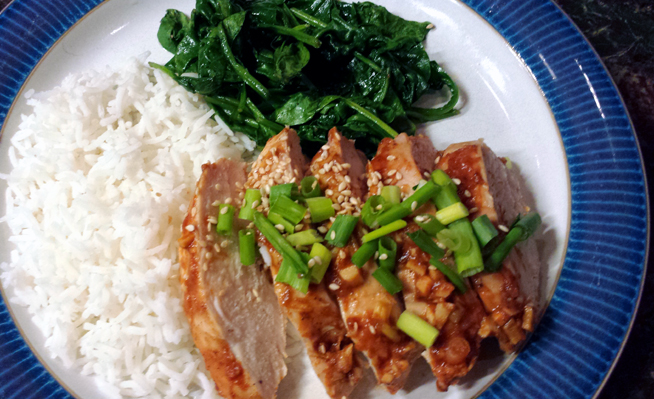
Posted in Uncategorized | Tagged chicken, dinner, rice, spinach, sriracha | Leave a Comment »
Flatbread topped with sliced fresh figs, Parmesan cheese, blue cheese crumbles, slivers of Proscuitto then drizzled with Balsamic vinegar.

Posted in Uncategorized | Leave a Comment »


JOIN THE REVOLUTION!


You must be logged in to post a comment.